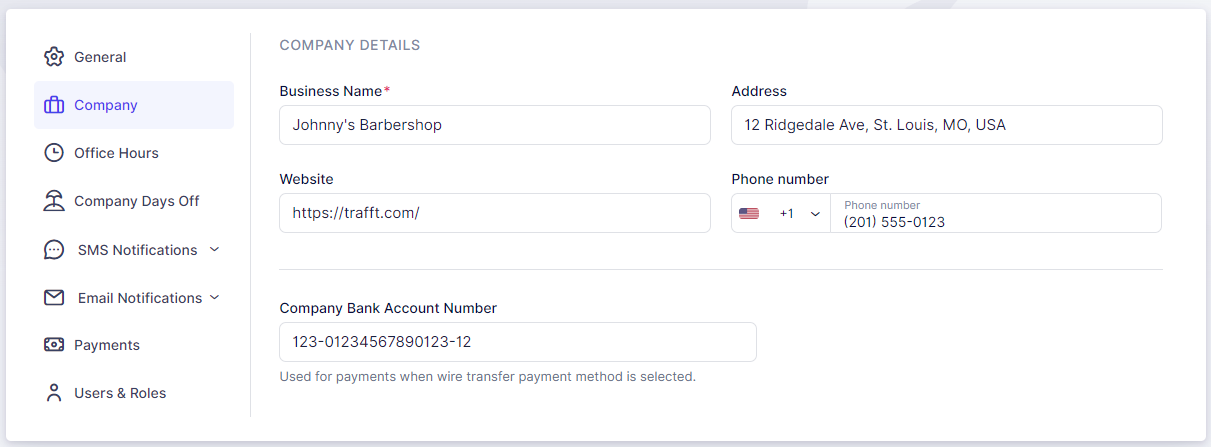
If you entered all Business information during the onboarding process, most of the fields will already be populated in Company Settings. Let's review them:
- Business Name: This is the name of your business, which will appear in notifications and as a contact detail on your Booking Website.
- Address: Enter the address of your company. This address can be shown in notifications sent to your customers.
- Website: Add your company's official website URL. This website can also be used in notifications.
- Phone Number: This is the phone number of your company.
- Company Bank Account Number: Enter your company's bank account number. If entered, this number will appear on the invoices sent to your customers, allowing them to pay via bank transfer if online payment options are not enabled.

Once you're done configuring the Company settings, make sure to click on the "Save Changes" button that pops up at the bottom of the page.

Have more questions
If you face an issue, and cannot find an answer in the documentation, feel free to submit a support ticket!
Contact us

