Introduction to Resources in Trafft
The "Resources" feature in Trafft lets businesses streamline their booking processes by managing shared assets, spaces, or equipment essential for their services. This feature helps ensure that resources such as meeting rooms, equipment, or specialized facilities are scheduled efficiently and are always available when needed, avoiding double-booking and maximizing resource utilization.
Video Version
How Resource Booking Works
With "Resources" each asset can be added to specific services, and assigned to employees or locations based on availability. This way, Trafft users can seamlessly align resource allocation with bookings and provide a smooth experience for clients while optimizing resource management.
For example, if your business needs a specialized piece of equipment for certain services, you can now add that equipment as a "Resource" and set up its availability. Trafft will automatically check for resource availability before confirming a booking, ensuring everything needed for each service is ready and accessible.
How to configure Resources?
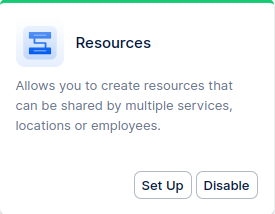
Make sure this custom feature is enabled under the Features & Integrations tab, then click on Set Up. Once enabled, they will also be visible under the Services tab.
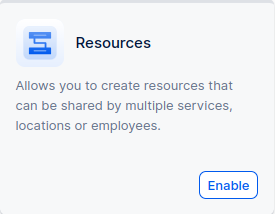
Feature disabled

Feature disabled

This tab will show you existing Resources and allow you to create new ones. When you click on "Add Resources", the following window will pop up:

Add Resources

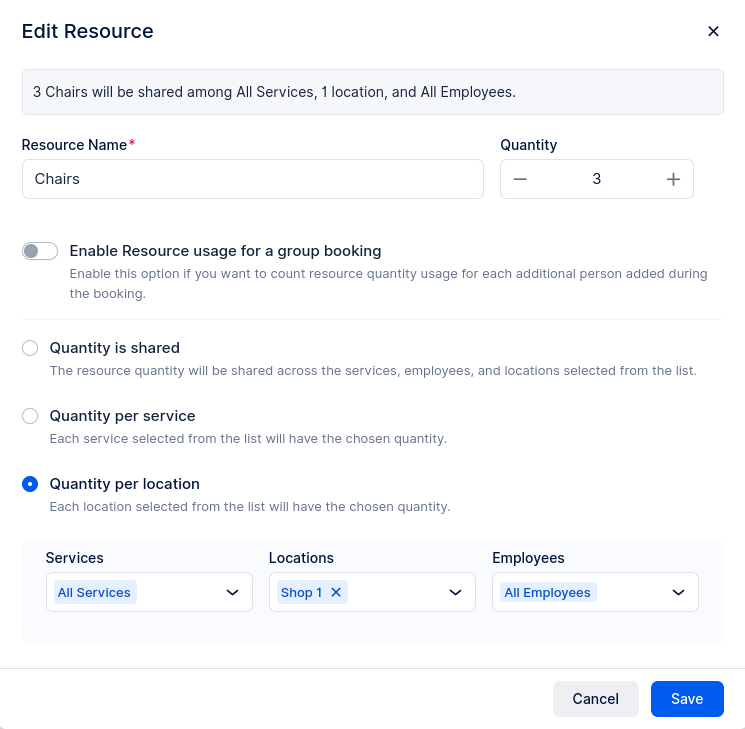
Here you define the name of the resource (for example “Chair”). Below that, you can choose whether the resource will be applied to the number of bookings or the number of people.
If the “Enable Resource usage for a group booking” slider is Disabled, the resource will be applied to the number of bookings, not the number of people.
If the slider is Enabled, the resource will be applied to the number of people in a Group Booking.
Then, you define the quantity of the resource.
Below, you can choose how Trafft will use the resource:
- Quantity is shared – This is used if the configured resource is shared for all selected employees, locations, and services
- Quantity per service – This option should be considered when you want to set the quantity of resources for each selected service
- Quantity per location - This option works the same as the previous one where the resource quantity is set for each selected location.
If you don’t select anything in these drop-downs, Trafft will apply the resource to All services, locations, and employees.
Booking a Shared Resource
This scenario is used in case there is a certain number of items that will be shared between all selected locations, services, and employees.
If you have a service called Paintball that is a group booking with a maximum capacity of 50 people, and 6 employees with the same max capacity, and all of them are associated with two locations, such as Paintball Field 1 and Paintball Field 2, resource management is crucial. For each session of this service, you have 50 paintball protective vests available, and you do not want to exceed that number during bookings.
In this case, you would create a resource named "Paintball Protective Vests" with a quantity of 50 and select the option "Quantity is shared." In the "Services" field, select the Paintball service. In the "Locations" field, choose both Paintball Field 1 and Paintball Field 2. In the "Employees" field choose All Employees. Make sure to check the option "Enable Resource usage for a group booking."
This setup ensures that the total number of customers for any single session will not exceed 50, regardless of the location.
If you have 100 paintball protective vests, instead select the option "Quantity per location" without changing any other settings. This will ensure that the total number of customers does not exceed 100 across both locations combined.
Booking a Unique Resource
In case you have a specific resource that you want to limit per service or location, you can use Quantity per service and Quantity per location.
Quantity per Service
This option will assign the quantity of resources to each selected service.
Example:
Beard Trim Service: Suppose there are three chairs dedicated for the “Beard Trim” service across the barbershop. When all three chairs are booked for beard trimming, no further bookings can be made for this service at that time, regardless of other available employees. This way, only three customers can receive the beard trim service simultaneously.
Quantity per Location
Example 1:
Barbershop Brooklyn: Let’s say “Barbershop Brooklyn” has three chairs (resources) available. If three customers book a slot for the same time, the chairs will be fully occupied. Any further bookings at that time will be blocked, even if other employees are available. This ensures that each customer has a chair reserved, avoiding overbooking the chairs at this location.
Example 2:
If you have 3 different services - Epilation, Barber Trim, and Facial Treatment and each service is performed by a different employee, but you only have 2 rooms available, managing resources efficiently becomes essential. Ensure that Room 1 and Room 2 are created as "Locations" in the system. For instance, Epilation can be performed in either of the two rooms, so you need to track which room is free for booking. Meanwhile, Barber Trim is exclusively performed in Room 1, and Facial Treatment is only done in Room 2.
In this scenario, the resource is the epilation machine (with a quantity of one). To effectively manage this, you would set "Quantity per location" (Room) in the form. Then, in the "Services" field, select “All services”. In the "Employees" field, choose “All employees”. Finally, in the "Locations" field, select both Room 1 and Room 2 as possible locations. This setup allows you to know at any time which room is available for epilation, ensuring optimal room usage and scheduling.
Have more questions
If you face an issue, and cannot find an answer in the documentation, feel free to submit a support ticket!
Contact us