Payment Settings are intended to guide you in configuring the essential parameters for your upcoming transactions.
Payments Settings
The Payments section in Trafft's Finance tab allows you to configure the currency that's going to be used, the price separator, the position of the price symbol, and the number of decimals that are going to be used when the price is presented to your customers.

Price Settings
Currency - here, you can designate the currency to be displayed alongside each price and utilized during subsequent payments. For added convenience, you can expedite the selection process by searching for your desired currency in the provided field.
The default selection is the US dollar. It's important to note that, currently, the application supports the use of only one currency throughout the app.
Price Symbol Position - this option allows you to opt for one of four positions in which the currency symbol will be displayed: Before, Before with space, After, or After with space.
By default, the Before option is selected, resulting in a price format like this: $100.
Price Separator allows you to specify the separators to be used for your prices. Currently, there are three options available: Comma-Dot, Dot-Comma, and Space-Comma.
The default selection is Comma-Dot, resulting in a price format like this: 15,000.00.
Number of Decimals - here, you can establish the number of decimals to be displayed in your prices.
The default setting is 2, resulting in a price format like this: 15,000.00.
Payment Methods
The default payment method in Trafft, which doesn't require enabling any custom features, is On-Site. This payment method allows your customers to book appointments without paying anything during the booking process.
If you add the Company Bank Account Number in the Company Settings, the invoice that is sent to the customers will include this number, so your customers will be able to pay using bank transfer.
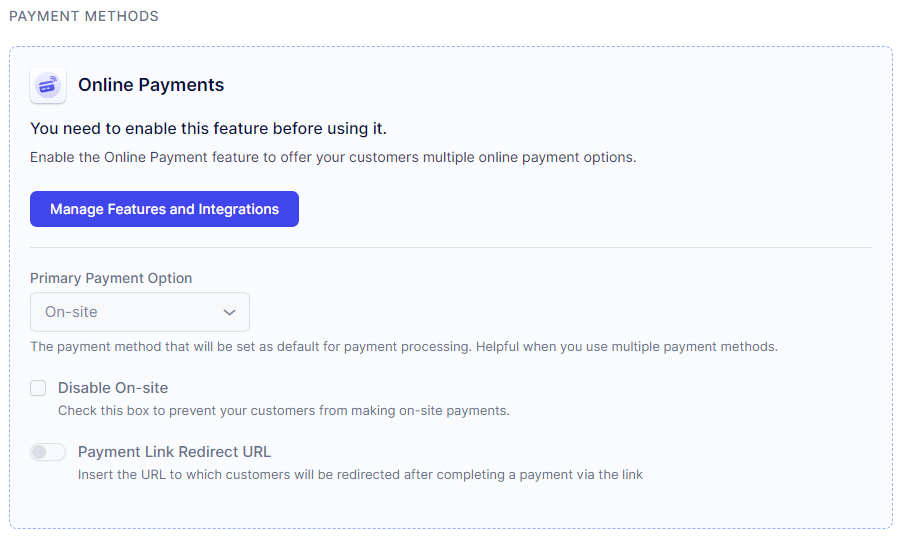
The first time you land on the Payments settings, you will see the information about this and the button that takes you to the Features page, where the feature can be enabled.
To use Online Payment methods, you first need to enable this feature in the Features & Integrations page.
After the feature has been enabled, you will see all available online payment methods.
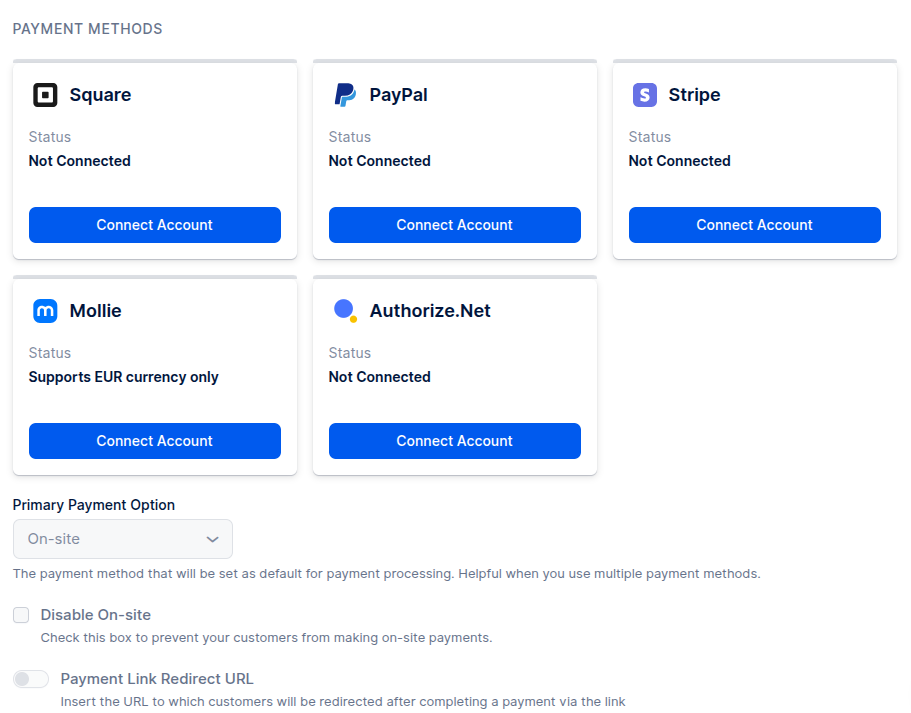
Once at least one online payment method is enabled, you will be able to:
- Change the Primary Payment option (which is set to On-Site by default);
- Disable the On-Site payment method, so no one can book without paying;
- Enable and configure the Payment Link Redirect URL - this option works along with the Payment via Link feature, so if you configured it, the customers will be redirected to the URL defined in here after they pay via link.
To read more about Payment via Link, please click here.
PayPal
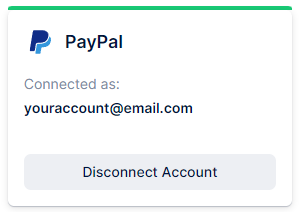
To link your PayPal account, go to Features & Integrations, and locate the Online Payments section. Click on "Set Up" and then click on the "Connect Account" button in the PayPal card. This will redirect you to the PayPal login page, where you can log in to your account. Once logged in, you will be returned to the Trafft page, where a confirmation of the established connection will be displayed, indicating your email.
Stripe
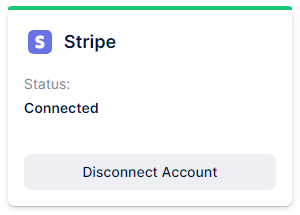
Likewise, to establish a connection with your Stripe account, you must first navigate to Features & Integrations and access the Online Payments section by clicking the "Set Up" button. Then, under Stripe, click the "Connect Account" button. This action will direct you to Stripe’s Sign-in page, where you can log in to your account. After successfully logging in, you will be automatically redirected back to the Trafft page, confirming that the connection has been established
Mollie
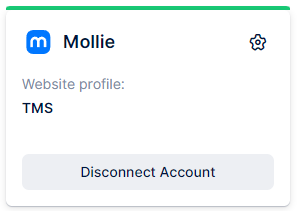
To link your Mollie payments account, proceed to Features & Integrations, and locate the Online Payments section. Click on the "Set Up" button and then on the "Connect Account" button next to the Mollie Payment option.
This action will redirect you to log in to your Mollie account, where you can connect and authorize website profiles and payment methods. Within your Mollie account, you can access transaction details, refunds, chargebacks, set permissions, and configure a payment page design. To seamlessly integrate your Trafft and Mollie accounts for payment acceptance, ensure you have at least one website profile and an active payment method configured in your Mollie account. On the Online Payments page in Trafft, under Mollie integration, select the desired Website profile to connect with Trafft.
Authorize.Net
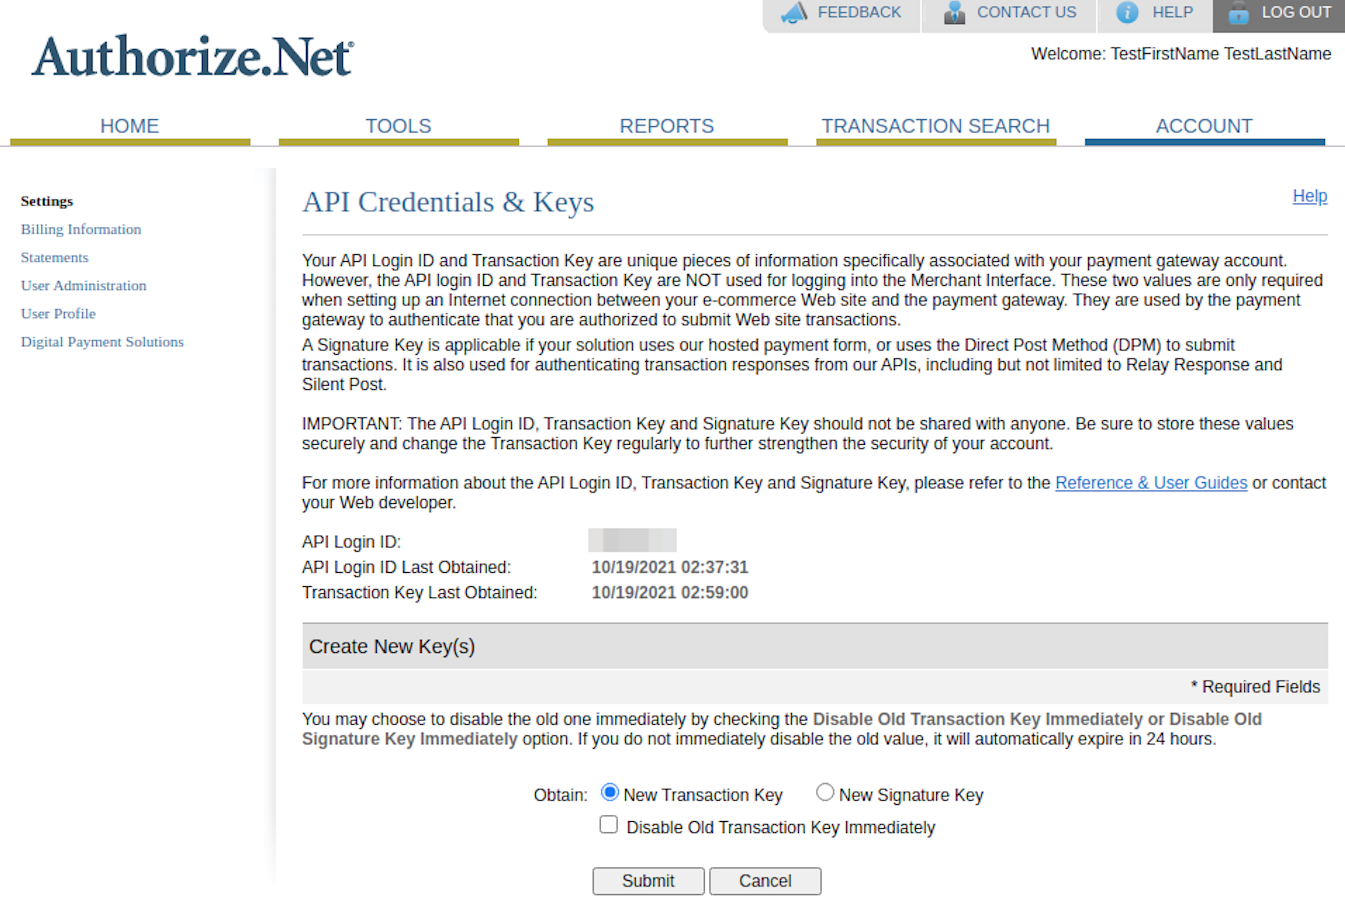
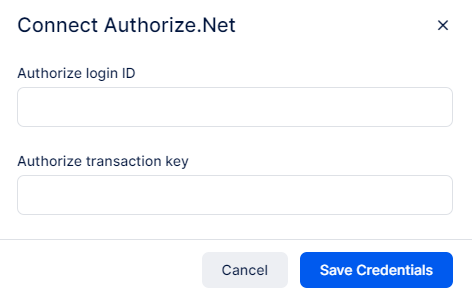
Presently, the final payment method available in Trafft is Authorize.net. To establish this connection, you must input your "Authorize login ID" and "Authorize transaction key." Retrieve these details by logging into your Authorize.net account and navigating to API Credentials and Keys in Account settings. There, you will find the API Login ID, which you can copy as the "Authorize login ID." For the transaction key, select the "New Transaction Key" option, submit, and follow the prompts to verify your email address. Once verified, the "Current Transaction Key" will be generated, which you can copy as the "Authorize transaction key."
After entering the necessary credentials, be sure to select the "Save Credentials" option. Subsequently, your customers will have the option to make credit card payments through Authorize.Net
This completes the connection between Trafft and Authorize.Net.
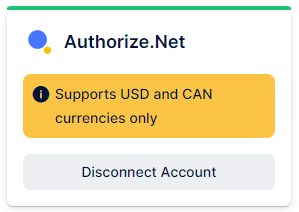
After successfully connecting to at least one online payment method, you have the option to disable on-site payment by checking the checkbox next to "Disable payment on-site."
Upon completing the configuration of your payment settings, click on "Save Settings." Additionally, you can choose your preferred Primary Payment method from the dropdown menu to set it as the default.

Once Online Payments are enabled and connected, Trafft provides the flexibility to choose the preferred payment method for each service. This option appears when the "Disable payment On-Site" option is enabled.
Within the service settings, you will find the "Payment Method" option, initially set to "All" by default. This setting allows your customers the flexibility to pay either online or on-site. You have the option to configure each service to accept payments exclusively online, or on-site, or maintain both options simultaneously.
Square
To link your Square account, go to Features & Integrations, and locate the Online Payments section. Click on “Set Up” and then click on the “Connect Account” button in the Square card. This will redirect you to the Square login page, where you can log in to your account. Once logged in, you will be returned to the Trafft page, where a confirmation of the established connection will be displayed, indicating your email.
Payment Link Redirect URL
If you are using a payment link to gather payments from your customers, you have the option to define the URL to which customers will be redirected after a successful payment.

Have more questions
If you face an issue, and cannot find an answer in the documentation, feel free to submit a support ticket!
Contact us