Sign Up
Welcome to Trafft! This guide will walk you through the process of signing up for a free account. Follow the simple steps below to create your Trafft account and get started with managing your appointments and services.
To begin, click on the “Get started for free” button located on Trafft’s homepage. This will redirect you to the sign-up process, where you’ll enter your details and set a password for your new account.
Embark on your Trafft journey with our free sign-up process. No need to enter your card details – simply create your account and enjoy a 14-day trial. During this trial period, all features and integrations are at your fingertips, allowing you to experience Trafft’s full capabilities before choosing the perfect plan for your needs.

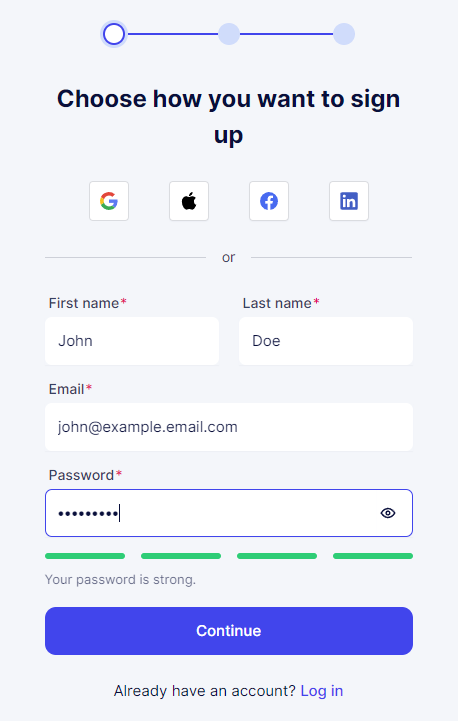
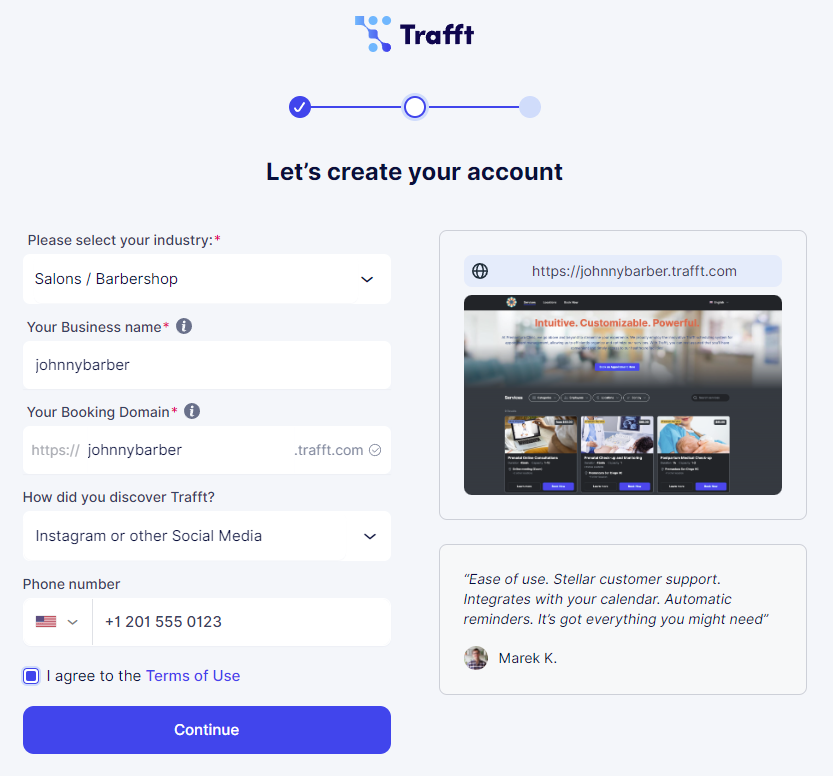
After entering your details, you’ll proceed to a page where you’ll make a few selections for your business. Trafft will then generate some sample data on your account, allowing you to begin using the app right away.
Start by choosing your industry category, such as salons, training, consulting, or healthcare, or you can select “Other” for a custom category. Next, input your company name and define your Booking Website’s URL. To proceed, check the box to agree to our Terms of Use.
The final step is selecting the theme for your booking website, which you can always change later to best suit your business’s style and branding.
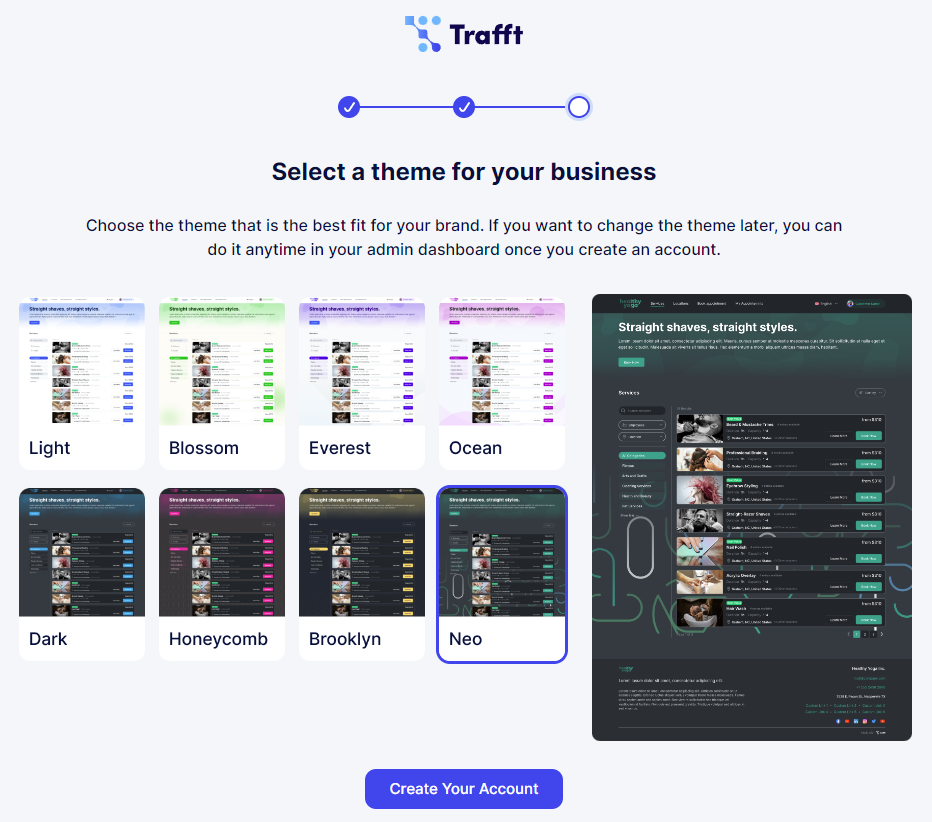
After making these selections, click on “Create Your Account” at the bottom of the page, and you’re all set to begin using Trafft!
Our Onboarding Process
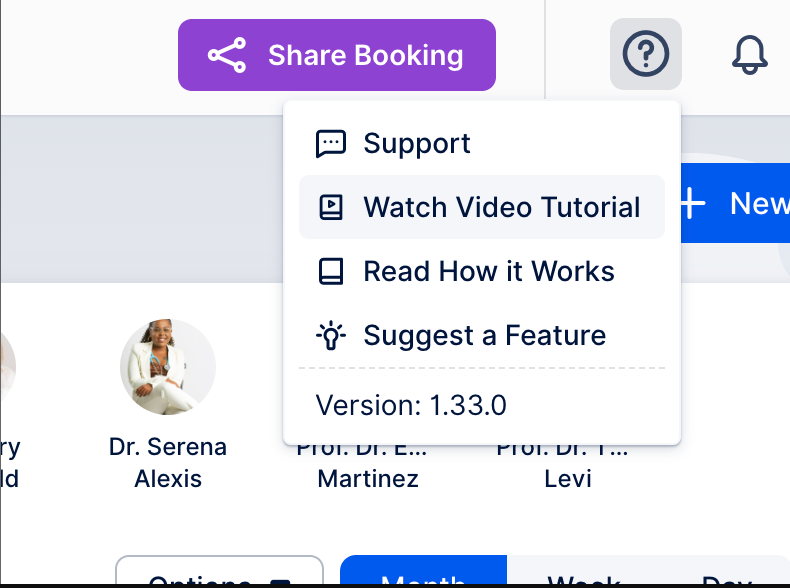
After completing the signup process, you’ll land on your Calendar section. Click the question mark icon in the upper right corner to access a few helpful options, including a short 2-minute video tutorial.
In addition to the video, you’ll also find buttons for support, documentation, and an option to suggest a feature.
We prioritize security to maintain a safe environment for all users. To prevent misuse by spammers, Email and SMS notifications require email verification. Please check your inbox and complete the verification process to enable notifications and fully utilize the app.
Once your email address is verified, you can continue exploring Trafft. We’ve provided some sample Employees, Services, and Appointments so you can immediately view Trafft’s Booking Website by clicking on the Booking Website button in the top left.
The Dashboard page features links to the core components of Trafft, including Employees, Services, Features & Integrations, and the Booking Website. These links are helpful for new users to navigate the app. While you have the option to permanently hide them by clicking “Dismiss,” we suggest exploring these links to become acquainted with Trafft’s functionalities.

Have more questions?
If you face an issue, and cannot find an answer in the documentation, feel free to submit a support ticket!


