Let’s face it - juggling bookings over email, text, and social media is a recipe for missed appointments. Lost clients mean lost revenue, so why keep running your business into the ground?
If you have a service-based business, you’re well familiar with how much time slips through the cracks just trying to fill your calendar. But that’s where a sleek, well-built booking form steps in to save the day.
While learning how to create a booking form might sound like stepping into tech territory, the reality is that it's much simpler than you can imagine. So, if you're ready to leave the scheduling chaos behind and put your bookings on autopilot, let’s roll up our sleeves and dive in.
What is a Booking Form?
A booking form is a simple yet powerful tool that allows clients to schedule appointments or services online without the need for back-and-forth communication. It’s essentially a digital form embedded on your website - or shared via a direct link - that gathers all the information you need to confirm a booking.
Most booking forms include fields for:
- Name, email, and contact details
- Preferred date and time
- Type of service or appointment
- Additional notes or special requests
And the best part? They’re usually highly customizable. You can add extra fields, enable group bookings, collect payments, or even include terms and conditions.
Why do you need a booking page?
Have you ever been with a client, and your phone just keeps ringing? It’s a familiar scene for many service providers - trying to give one client your full attention while potential bookings pile up in missed calls, messages, and DMs.
The reality is, relying on manual bookings is like trying to fill a leaky bucket. You might manage for a while, but eventually, things start slipping through the cracks. Double-bookings, late-night texts, and no-shows will quickly become your new normal.
A booking page solves all of that. It allows your business to stay open 24/7, even while you’re asleep or mid-appointment. Think of it like giving your business a digital front desk - one that never takes a lunch break, never forgets to follow up, and always knows your availability.
Here are some additional benefits of an online booking form:
- It helps you stay organized. Everything is in one place, so there is no need to switch between apps, texts, or random sticky notes.
- Your business looks more professional. A well-designed booking page shows that you take your business seriously.
- More bookings, less friction. When the process is this easy, clients are far more likely to follow through.
In a fast-paced world, patience is even shorter than an attention span, so convenience will always win. If clients have to jump through hoops just to book your time, many won’t bother. The booking page is a win-win tool, making the process easy for clients and even easier for you.
What should a booking form include?
Customers who want to book an appointment should give you certain information. To get everything you need, your booking form should include:
- Contact information: Request at least the customer’s name and email address. It’s vital for communication, sending booking confirmations, and any updates such as about rescheduling appointments. Based on your needs, you can also ask customers for their phone numbers.
- Service details: A place where customers can choose services is a must-have. Provide multiple options and checkboxes so customers can select preferred times, services, and employees.
- Quantity: Maybe customers want recurring appointments or group bookings. If your business offers those options, add them directly to your booking form.
- Additional requests: Every one of your customers has different needs. Allow them to express themselves by including an open-ended section where they can include any special requests.
- Payment information: If you ask for upfront payment, your form should include at least one payment option.
- Terms and conditions: Include a checkbox where customers can agree to your terms and conditions, such as an appointment cancellation policy. This establishes trust and clear expectations.
Step-by-Step Guide on How to Create a Booking Form
So, you’ve decided it’s time to stop chasing appointments and start letting them come to you. Smart move. But if you’re unsure how to create an online booking form that fits your needs, you’re in the right place.
Let’s walk through the steps to build one that looks great, saves you time, and makes booking a breeze for your clients.

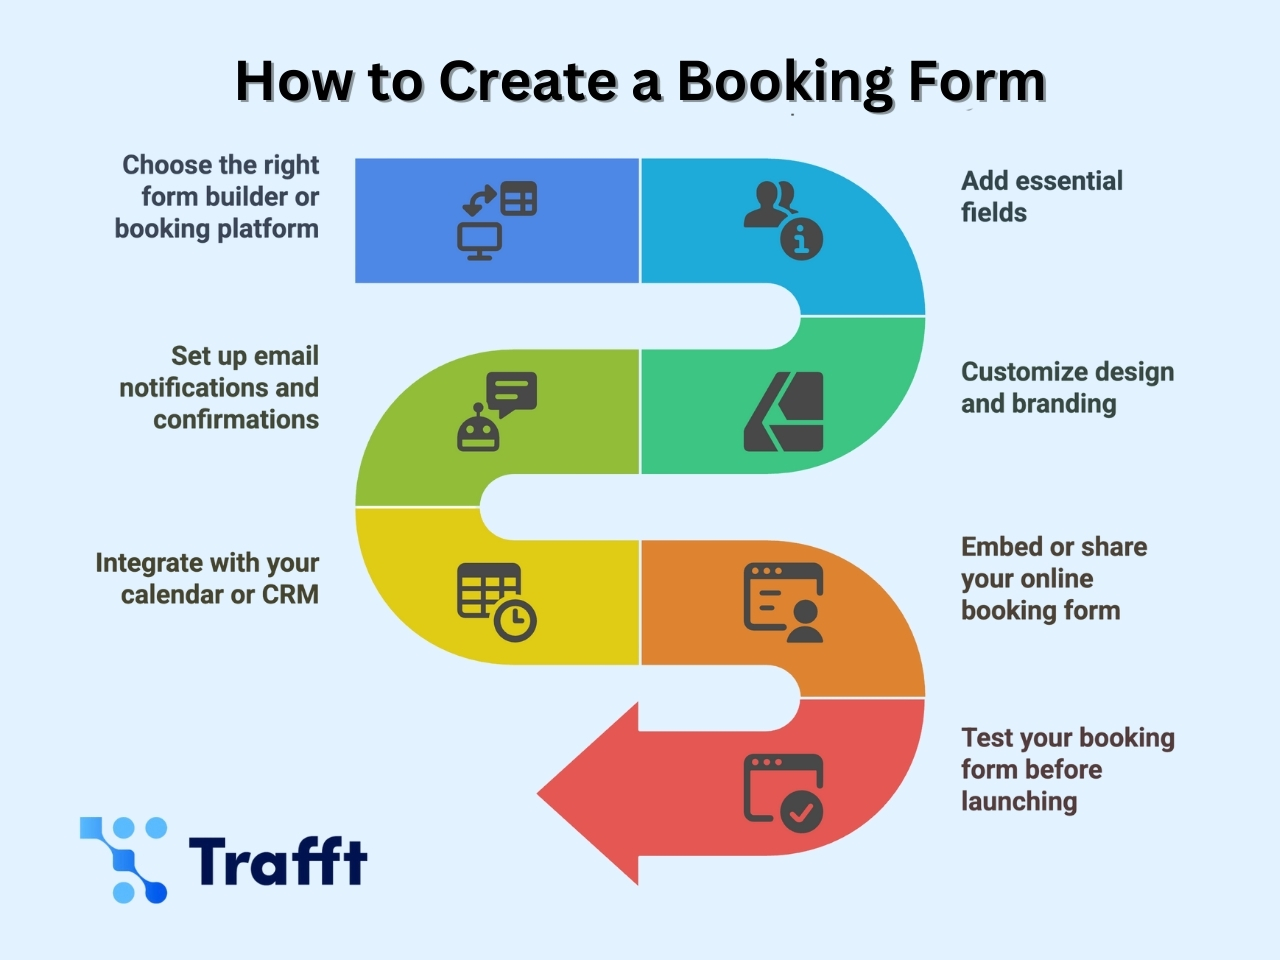
Step 1: Choose the right form builder or booking platform
There are many approaches to creating a booking form. Some people start with free form builders, while others try to utilize Google Forms or spreadsheets. While those options technically work, they often lack the flexibility and automation that make online booking truly efficient.
If you want to capitalize on all the benefits a booking form can give you, your best bet is to choose a dedicated booking platform.
Here’s what to keep in mind when selecting the right one:
- Ease of use - You shouldn’t need to hire a developer just to build a form. A clean interface that makes sense right out of the gate is key.
- Calendar syncing - Real-time integration with your calendar (Google, Outlook, etc.) ensures your availability is always up to date.
- Payments - If you want to collect deposits or full payments at the time of booking, make sure the platform offers secure payment integrations.
- Notifications & reminders - Automated confirmations and reminders reduce no-shows and keep clients informed without any manual effort needed.
Step 2: Add essential fields
Once you’ve chosen your platform, it’s time to build the core of your booking form: the fields. The key is to collect just enough information to confirm the booking without overwhelming your clients.
We already mentioned that fields like name, email address, service selection, and time and date are a must, and we highly recommend you keep your forms this simple. The longer the form, the more likely someone is to abandon it halfway through.
That said, depending on your business type, you might want to include a few optional fields like those for add-ons, extras, notes, or special requirements.
Step 3: Customize design and branding
Now that your booking form has the essentials, it’s time to make it look the part. This form is the first thing many people will see, especially if they are not familiar with your business. So, you need to convey the message that they are in the right place and they can trust you from the very first click.
Your booking form should feel like a natural part of your brand, not a random third-party add-on. Use your brand colors, fonts, and logo to create a cohesive look that aligns with your website and other client-facing materials.
And while visuals are important, simplicity is key. A cluttered form can confuse or overwhelm users, especially on mobile devices where screen space is limited. Keep your layout clean, your text concise, and your steps intuitive.
Step 4: Set up email notifications and confirmations
Once your form is live, you need to let clients know their booking went through. This is best done through confirmation messages and well-timed notifications. Most booking solutions can do this automatically, but if you opt to create your booking form from scratch, you’ll need to figure this out manually.
Either way, this step isn’t optional - confirmation and notification emails are essential to creating a polished, trustworthy client experience. Think of it this way - the more effort you put into reminding your clients about their upcoming appointments, the less likely they are to forget about them.
And let’s not forget your side of the equation. You should also receive notifications whenever someone books, cancels, or reschedules. This keeps you informed in real time and prevents any awkward surprises.
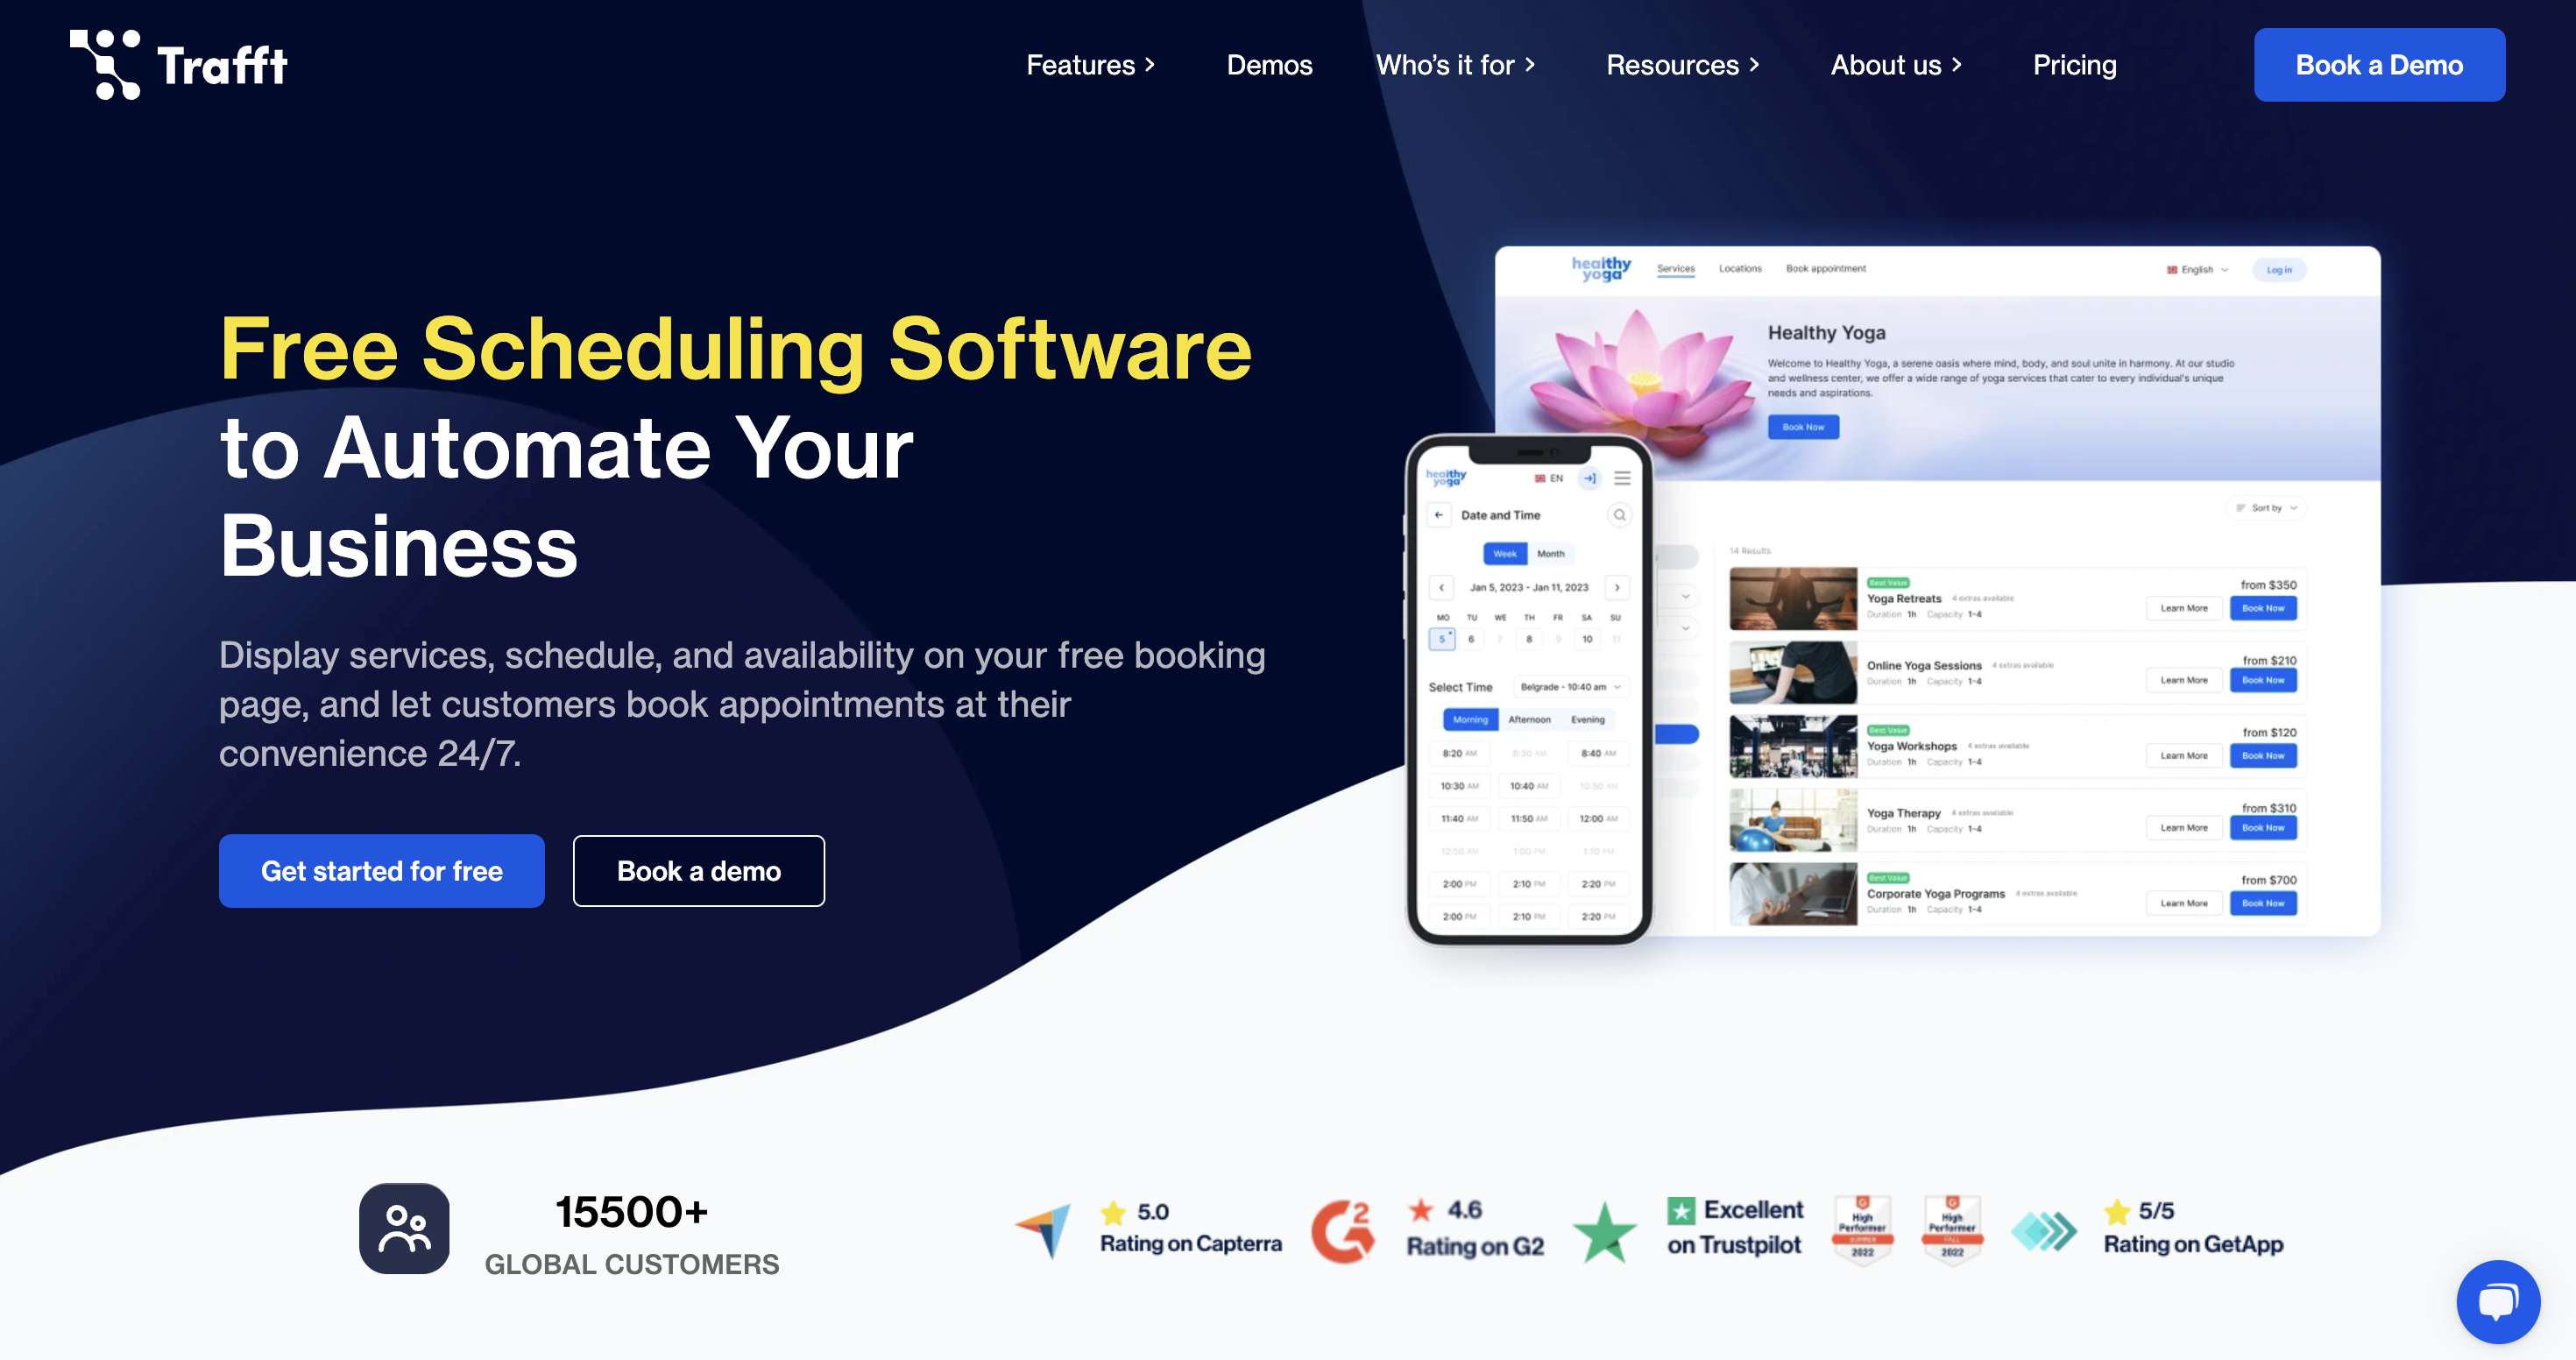
Trafft: Your 24/7 booking assistant
Trafft isn’t just a scheduling tool - it’s the behind-the-scenes assistant your business has been waiting for. Designed for service providers who are ready to ditch the chaos and automate their workflow, Trafft takes care of every step in the process.

Why should you choose Trafft?
- Customizable booking page - Easily create branded booking pages or embed a booking form directly into your website.
- Calendar integrations - Sync with Google, Outlook, and Apple Calendar to ensure real-time availability and prevent double bookings.
- Recurring appointments - Offer clients the convenience of booking recurring sessions with customizable intervals.
- Payment integration - Accept payments via PayPal, Stripe, Square, and more, with options for deposits and refunds.
- Group bookings - Manage group sessions efficiently by setting minimum and maximum participant limits.
- Automated notifications - Send timely email, SMS, and WhatsApp reminders to clients and say goodbye to no-shows.
- Insightful dashboard - Gain insights into your business performance with metrics like revenue, occupancy rates, and customer retention.
No matter the size of your business, Trafft helps you work smarter, not harder. Want to make booking easier for you and your clients? Start your free trial today and see the immediate difference!
Step 5: Integrate with your calendar or CRM
If you are not using a booking solution like Trafft, you’ll need to manually connect all your calendars to keep your schedule in check. This often means juggling between platforms, syncing availability by hand, and hoping nothing falls through the cracks. Ultimately, it’s a lot of work.
Integrations are what turn a simple booking form into a fully functional workflow. Having your calendar automatically updated with every new booking should be non-negotiable, so you never miss new appointments.
When your booking system is properly synced with your calendar, everything updates in real-time. Clients can only book during your true availability, last-minute changes are reflected instantly, and your day stays on track without constant supervision. Add CRM integration into the mix, and you’ve got a full picture of each client’s history - notes, preferences, past appointments - ready whenever you need it.
Step 6: Embed or share your online booking form
You’ve built it - now it’s time to put it out into the world. Whether you’ve created your booking form through a standalone builder or a full-featured platform like Trafft, the final step is making it easy for clients to find and use.
Two common practices are either to have a dedicated booking website or to embed the booking page into your already existing website. Both approaches keep everything in one place and create a seamless experience for your clients.
But these are not your only options. You can also share the form via a direct link, which is perfect for social media bios, emails, newsletters, or even text messages. What matters most is accessibility. Your booking form should be easy to reach, easy to use, and visible wherever your clients are already engaging with your brand.
Step 7: Test your booking form before launching
After everything is set in place, the last step is to test it out. Think of this as your dress rehearsal before the real show. You want to ensure that every part of the booking experience works as expected, so your clients can book without disruptions.
Start by going through the process yourself, exactly as a client would. Check the flow: Is the form easy to navigate? Do all the fields make sense? Are the times showing correctly based on your availability? Fill it out, submit a test booking, and see what happens next.
It’s also worth having a friend or colleague try it from a fresh perspective. Sometimes things that seem obvious to you may confuse someone seeing it for the first time. Their feedback can help you make final tweaks that improve clarity or reduce friction.
How to Create an Effective Booking Form: Tips & Tricks
How do you create a high-converting booking form guaranteed to get you more appointments? Clarity is definitely one of the most important factors, but you should also focus on the ease of use.
- Keep it concise: Use clear and straightforward language and guide customers through each step of the booking process seamlessly. You will achieve that by avoiding too many words and keeping the form clean and organized.
- Use descriptive labels: Label each field and provide clear and concise instructions for customers. If you feel it’s necessary, you can also include examples. That'll help you reduce the chances of confusion and errors.
- Error messages: Implement an error message that should appear every time a customer fails to provide the required information. Make sure that the booking form clearly emphasizes where the error occurred. You’ll provide a better user experience and avoid inaccurate bookings where you’d need to call to get clarification.
- A/B testing: From time to time, it’s important to test your form and see whether everything works smoothly. But you should also do A/B testing with different call-to-actions (CTAs) to see which one converts better. You can do A/B testing for other parts of the form as well. Make adjustments according to data and improve effectiveness, usability, and conversion rates.
Booking Form Benefits
And what’s in it for you? If you incorporate a booking form into your business, you’ll enjoy the following benefits:
- Time efficiency: Booking forms eliminate the need for back-and-forth communication between you and your customers, which saves time for both parties. Customers can conveniently book an appointment and your business enjoys automation at its full power.

Image by macrovector on Freepik
- Reduce human errors: Unintentional double-bookings often happen due to clumsy errors, which is totally fine. Neither you nor your employees should have to worry about that. And booking forms completely eliminate the chance for these mistakes.
- Enhanced customer experience: A user-friendly booking form creates a positive impression on customers. Not only does it simplify the booking process, it also provides clarity and demonstrates professionalism. This enhances customer satisfaction and inspires them to book appointments with you over and over again.
- Streamlined business processes: When you connect your booking form with your calendars, databases, and customer relationship management software (CRM) you’ll efficiently manage various business processes and spend less time on repetitive tasks.
- Collect data and get more leads: A booking form offers you valuable data insights about your customers. You can track their preferences, booking patterns, peak times, and other relevant information. Analyzing this data will help you fine-tune your marketing and optimize your service offerings.
Conclusion
If you have ever wondered how to make a booking form that actually works for your business - not against it; you’re not alone. But the good news is that it’s far easier than it seems, and the impact it can have on your efficiency, client experience, and bottom line is huge.
By following a few simple steps, you can build a form that does much more than gather appointment details. A well-integrated booking system reduces back-and-forth messaging, eliminates no-shows, and ensures your schedule is always up to date - even while you sleep.
So don’t let outdated scheduling hold you back. Set your business up with a system that works for you consistently and automatically.


