Your clients are becoming more tech-savy each and every day, and traditional booking methods like phone calls or walkins are slowly falling into oblivion. These outdated systems often lead to missed appointments, double bookings, and frustrated customers.
That’s why you need to sign up to Trafft as soon as possible and begin your online booking journey. Offer your clients a simple, user-friendly booking experience that allows them to easily schedule their appointments anytime, anywhere.
Let’s see how to make your very own, branded barbershop booking website with Trafft!
Step 1: Sign Up and Set Up Your Account
To get started with your Trafft journey, the first step is to create a free account on the website. Visit the Trafft sign-up page and enter your first name, last name, email and password.
After signing up, you’ll need to enter key details about your business, such as its name, location, business category, company URL, and the services you offer. This information helps Trafft tailor the platform to your specific needs.
Once your business information is in place, Trafft will automatically create a booking page you can later customize to reflect your brand’s unique style.
Step 2: Customize Your Booking Page to Match Your Brand

Design options
Once you’ve made your account and entered all your business details, it’s time to customize your booking page to make it truly reflect your barbershop’s brand and services.
Trafft offers a range of design options, so you can choose from predefined themes or take full control by adjusting colors, fonts, and logos to match your brand identity.
Service listings
Next, you need to add detailed service listings for each offering, including descriptions, prices, durations, photos, to give clients all the information they need to make an informed choice. Trafft allows you to create extra services your clients can add at some point of their booking process. This is a great way to upsell, and offer additional services.
To create services, on the left side of your dashboard find the “Services” button. If you click on it, you’ll see Trafft has already created some services based on your industry. Firstly, you should add categories of your services, for example haircuts, beard trims, scalp massages. Each service you create needs to fall into one of the categories.
Click the “+Add Service” button and fill out the details, give your service a name, add the description, image, and put it in a category. It's as simple as that to add your services!
Employee profiles
For each employee you’ve got you can create individual profiles with their specialities and availability, allowing customers to select their preferred stylist.
You can customize their working hours, days off, and any specific skills or services they specialize in, making sure that clients can easily find the right barber for their needs. Plus, you can add a brief bio and upload a photo to make each profile more personal and engaging.
To add your first employee, click on the “Employee” button on the left side of your dashboard. You’ll notice that Trafft has already added one employee, so you can edit this example employee profile or delete it completely and add all your staff members.
To add a new employee, click on the “+Add Employee” button. Here, fill out their name, upload a photo, phone number, and add a short description. You can also set up their working hours under the “working hours” tab. To select the services your employee provides, go to the “assigned services” tab and select all services they provide.
Step 3: Integrate the Booking System into Your Website
Now that you’ve added employees, their working hours and services, it’s time to integrate the booking system into your website. Trafft makes this process easy with two options.
First, you can embed the booking form directly into your existing website by using the embed code provided by Trafft. This allows clients to book appointments without ever leaving your site, creating a seamless experience.
To do this, click on the “Share Booking” button on the top right corner of your dashboard, and you will see a “Share Booking” pop-up. Firstly click on the “Embed” button, then on the “Get Immediately" button. You’ll see an embedded iframe code you can easily integrate into your site, regardless of the CMS or the underlying code.
If you don’t have a website, Trafft will create a dedicated booking page with a trafft.com extension. You can use this booking page as your website, and share it on your social media platforms.
Step 4: Set up Notifications and Reminders
Next, you need to set up notifications and reminders to enhance your client’s booking experience and reduce no-shows. Trafft allows you to send automated reminders via email, SMS, or WhatsApp before each appointment, making sure your clients keep their appointments at the top of their mind.
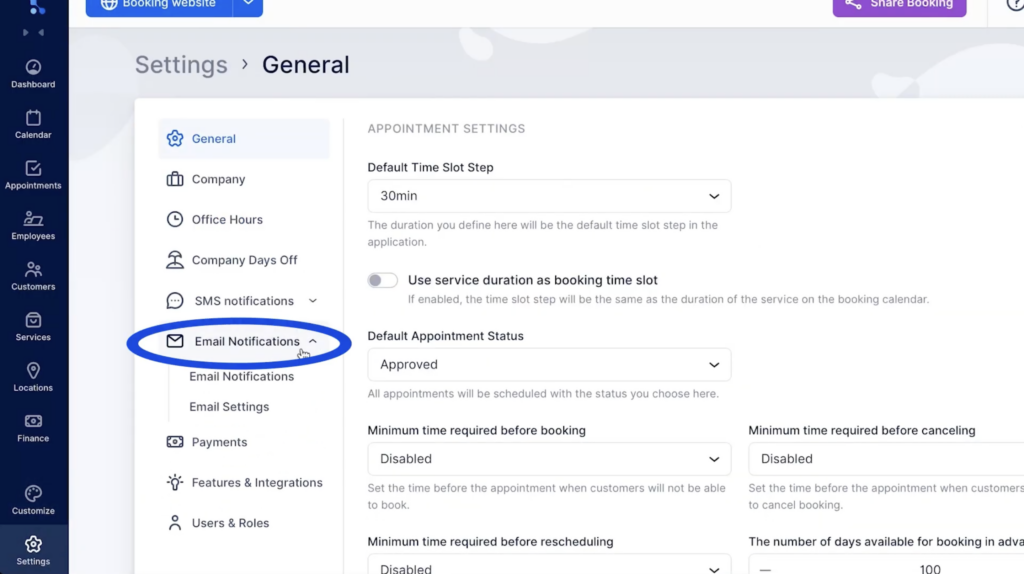
Apart from reminders, you can also send follow up messages, coupon codes, and gift cards. To set up email and SMS notifications, navigate to the bottom left corner of your dashboard, and click on “Settings”.
Here, you can see “SMS Notifications” and "Email notifications” cards where you can customize your personalized messages, and select the checkboxes to determine when your clients should receive notifications. For example, you can set up messages for appointment approvals, reminders, follow-ups, gift cards, and more.
Step 5: Manage Payments and Invoices
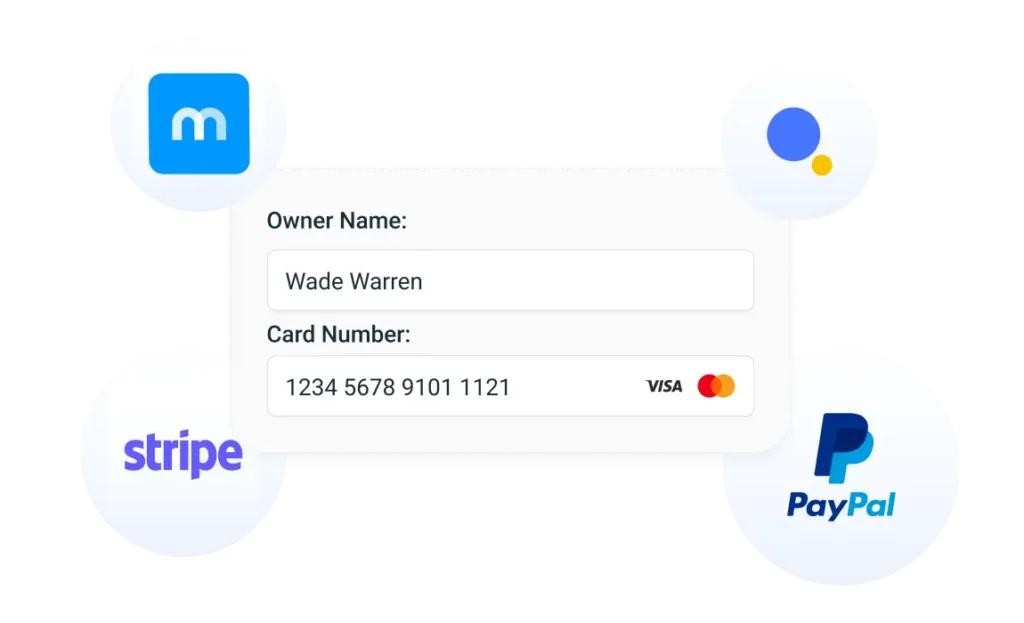 To accept online payments, you firstly must set up payment methods, invoices and taxes. Trafft integrates seamlessly with trusted online payment gateways like PayPal, Mollie, Stripe, Authorize.Net and Square.
To set up your payment methods, click “Finance” on the right side of your dashboard, and you can choose your currency, price symbol position (before/after), and other details. In the same section, you can choose your payment methods.
Trafft automatically generates and sends invoices to clients once payment is received, streamlining your administrative process.
Step 6: Promote Your Online Booking System
Once you’re ready to receive bookings, it’s time you promote your new booking system!
Share your booking page across social media platforms to expand your reach and drive more traffic. Trafft also integrates with various marketing tools, so you can reach beyond your social media:
- Reserve with Google: Allow clients to book directly from Google search results
- Facebook Pixel: Track customer behavior and retarget ads to enhance your marketing efforts
- Google Analytics and Google Tag Manager: Gain in-depth insights into website traffic and performance for data-driven decision making
- Mailchimp: Connect Mailchimp to create and send personalized email campaigns
- SendFox: Expand your audience and engage clients effectively by transferring customer data from Trafft to SendFox for targeted email campaigns
Combining all these tools can enhance your marketing strategy, and help you reach a wider audience.
Closing Thoughts
Setting up Trafft for your barbershop can be a game-changer for improving efficiency and customer satisfaction. With a simple set up process, easy customization, seamless integration with various tools, and automated reminders you can offer a professional and efficient booking experience for your clients.
Start your journey with Trafft today and watch your business flourish and grow!